Set emails sending limits
Setting email sending limits in lemlist is essential to protect your sender reputation and improve deliverability. You can adjust the number of emails sent per day for each sender email address on your account or your team’s accounts.
Why setting limits matters:
1
Manage deliverability: Avoid being marked as spam by controlling email volume.
2
Prevent bounces: Send emails to valid addresses to minimize bounce rates.
3
Maintain frequency: Control how often your leads receive emails to keep outreach relevant.
4
Boost engagement: Send to the right people for better response rates and fewer spam reports.
5
Include unsubscribe links: Build trust and ensure compliance with email regulations.
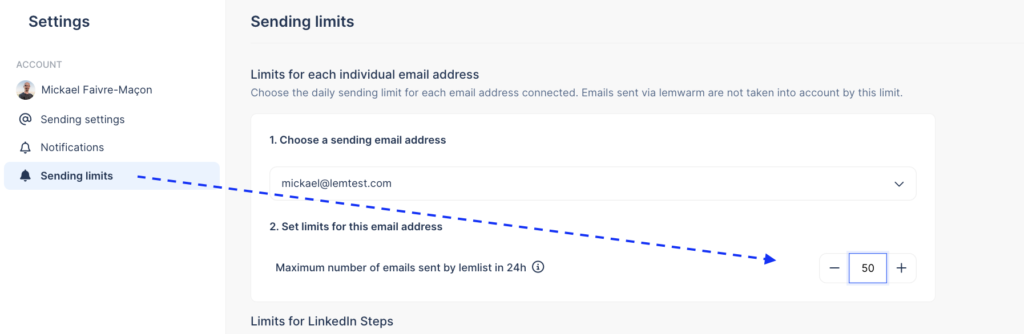
How to set sending limits in lemlist
1
Go to your Settings.
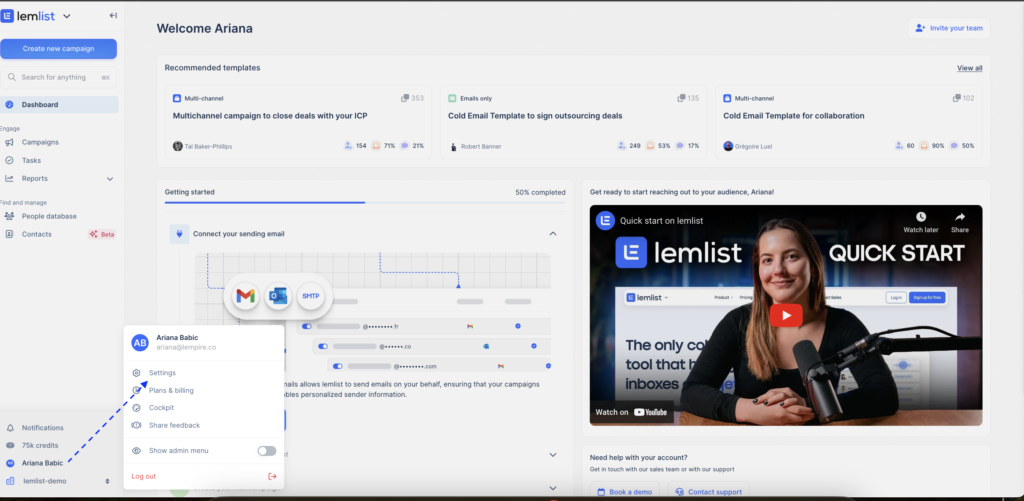
2
Navigate to the Sending limits section.
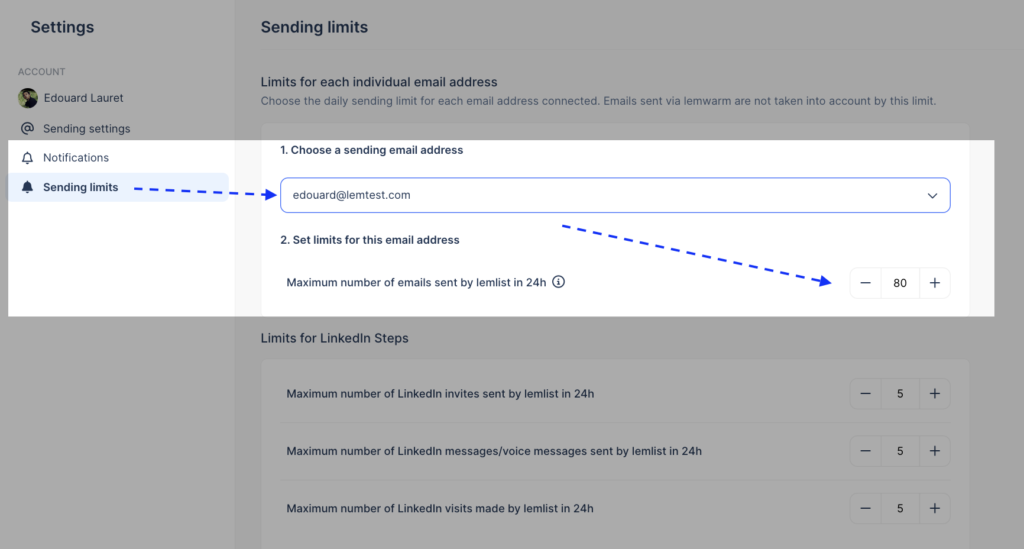
3
Select the email address you want to adjust from the drop-down menu.
The limit is set per 24-hour period.
If you want to adjust limits for a teammate:
1
Go to the Cockpit section.
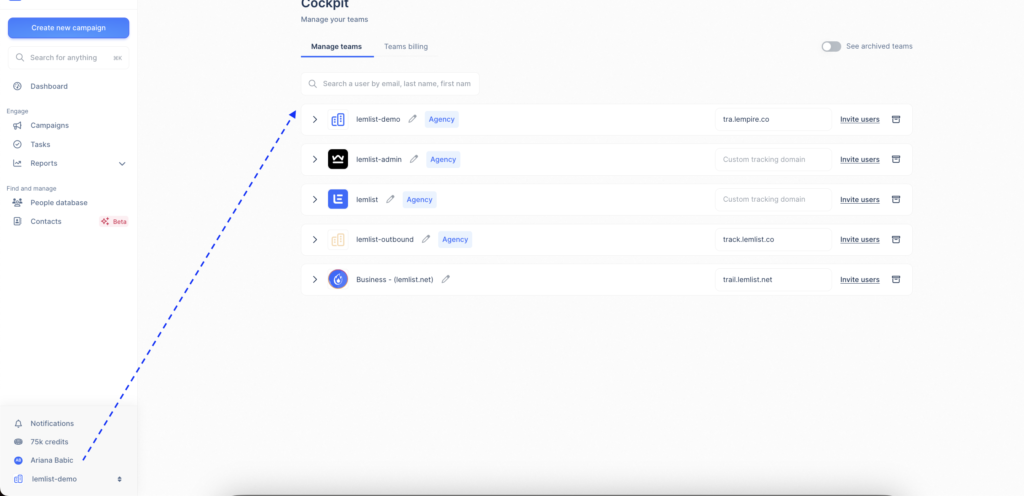
2
Click on your teammate, then hit the three dots next to their name.
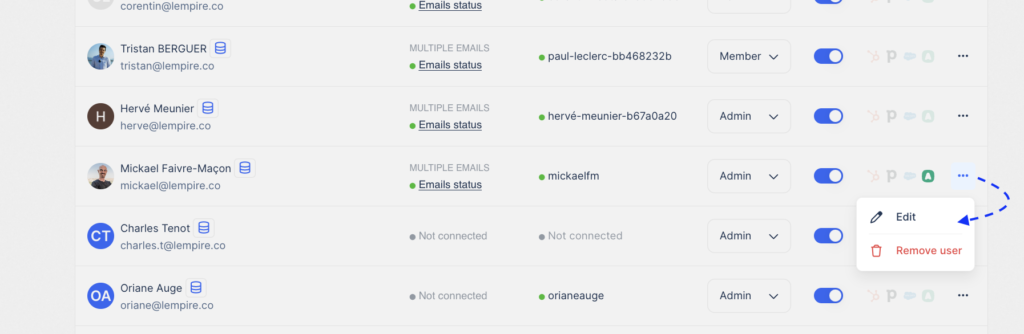
3
Select Edit and navigate to Sending settings to adjust their email limit.
Recommended limit: Don’t send more than 100 emails per day per sending address to ensure high deliverability and reduce the risk of spam.
Understanding global limits
Your global limit applies across all your campaigns. For example, if you’ve scheduled a campaign for 100 leads:
- Day 1: 45 new leads (Step 1)
- Day 2: 45 new leads + 45 follow-ups = 90 emails
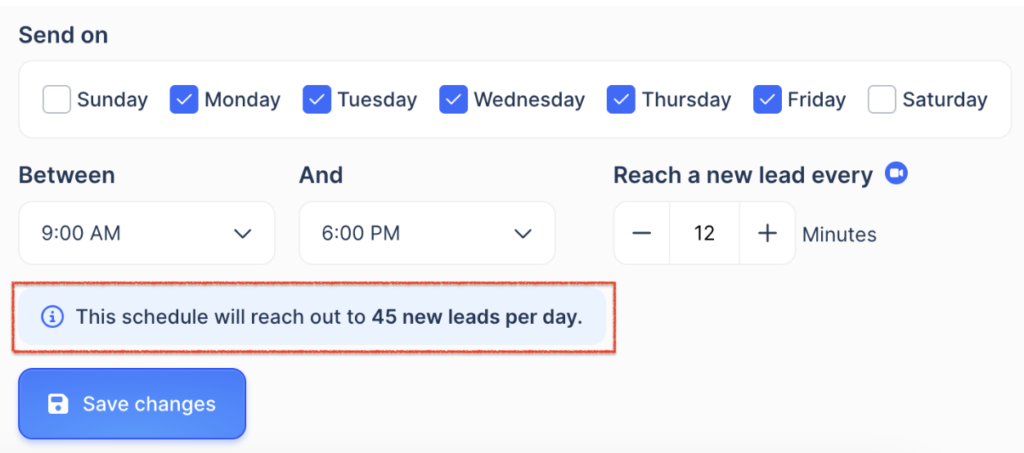
- Day 3: 10 new leads + 45 follow-ups = 65 emails
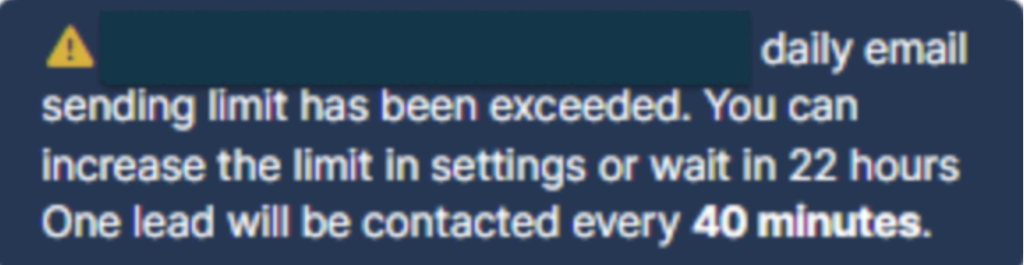
If you hit your global limit for the day, a warning will notify you that the limit has been reached.
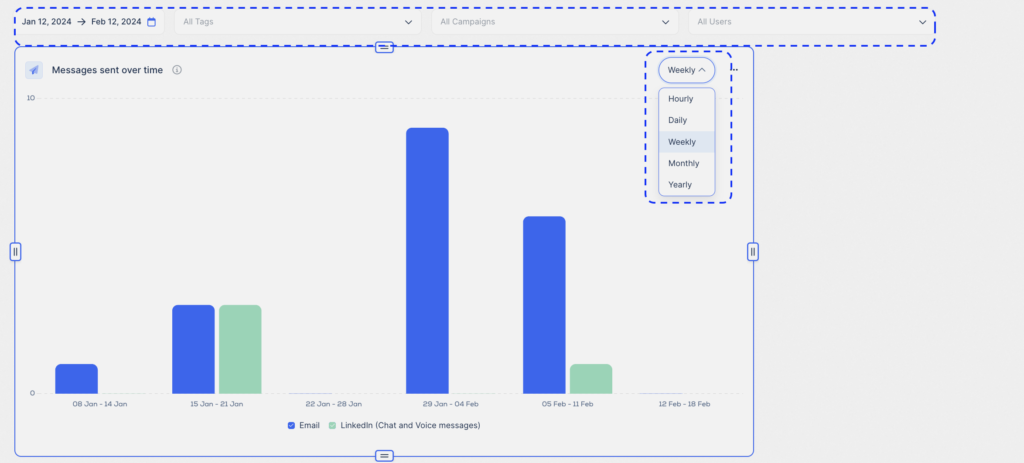
Tracking sent emails
To track how many emails were sent in a day:
1
Go to Reports and navigate to Overview.
2
Click on Edit widgets and add the widget titled Messages sent over time.
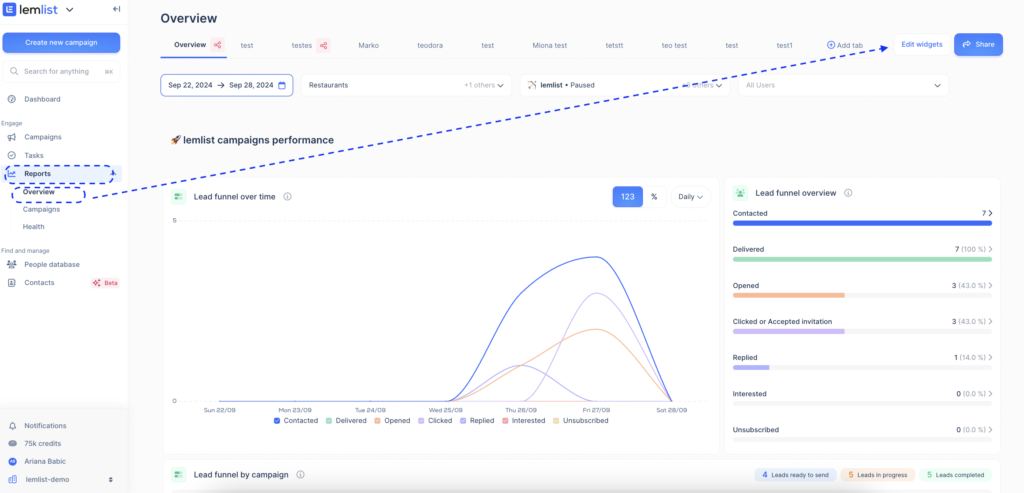
3
Use this widget to track your sent emails by day, week, month, or year. You can also filter by tag, campaign, or user.

Best practices
1
Inbox rotation: If you have multiple sending addresses, rotate them to spread out your sending volume and maintain each inbox’s reputation.
2
Send to the right people: Focus on leads likely to engage to reduce spam reports.
3
Send to valid emails: Verify email addresses to avoid bounces.
4
Monitor sending volume: Keep track of your total sending and adjust limits as needed.
5
Set the right frequency: Find the optimal outreach frequency without overwhelming your leads.
6
Add an unsubscribe link: Always include this to build trust and comply with regulations.
How useful was this lesson?
Copied