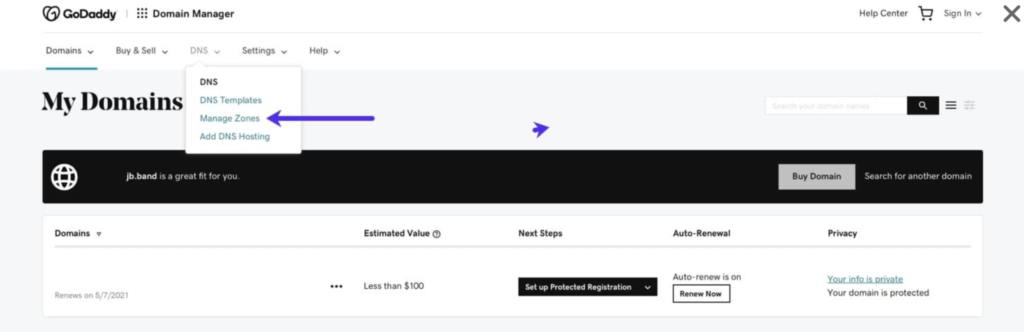
Set DNS records with GoDaddy
If you use GoDaddy as your domain provider, here’s how to set up your SPF, DKIM, and DMARC records. These records help authenticate your email and prevent unauthorized use, like email spoofing.
Set the SPF record with GoDaddy
An SPF (Sender Policy Framework) record is a type of TXT record that shows which servers are allowed to send emails on behalf of your domain.
Here’s how to set it up:
- Name: Use “@” for your root domain or add a prefix like “mail”.
- Value: Your SPF rule. For example:
v=spf1 mx -all. - TTL: Set the time for which the server caches the information. The default is 1 hour.
You can get your SPF record from your email provider or use an online SPF generator like [SPF Record Generator].
Set the DKIM record with GoDaddy
DKIM (DomainKeys Identified Mail) helps prevent email forgery by signing your emails, allowing the recipient’s server to verify the sender.
Follow these steps to publish your DKIM record:
To check if your DKIM record is published, you can use a free DKIM record checker. Note that DNS changes can take up to an hour to propagate.
Set the DMARC record with GoDaddy
DMARC (Domain-based Message Authentication, Reporting, and Conformance) helps protect your domain from email spoofing.
To add a DMARC record:
_dmarc.Examples:
- With email reporting:
v=DMARC1; p=quarantine; rua=mailto:your-email@example.com; pct=90; sp=none - Without email reporting:
v=DMARC1; p=quarantine; pct=90; sp=none
Replace the example email with your own. Once added, you can use a DMARC record checker to confirm the setup.
Remember, these settings are general for any domain setup and not specific to lemlist. If you need more help with DNS records, your domain provider can assist you.