Review your leads before launching your campaign
This is where you activate your campaign and start reaching out to your leads.
When you launch a lead, the campaign officially goes live for them. They will then start receiving your email sequence, following the schedule you set.
1 lead launched = campaign goes live for that lead.
You decide when to launch each lead, giving you control over how personalized your outreach is. You can launch all your leads at once or just a few to start with.
Here’s what you can do before launching:
- Preview what each lead will receive at every stage.
- Double-check your setup (messages, images, variables, etc.).
Until you launch, your campaign is on hold. Nothing will be sent until you decide to launch.
How to launch leads in lemlist
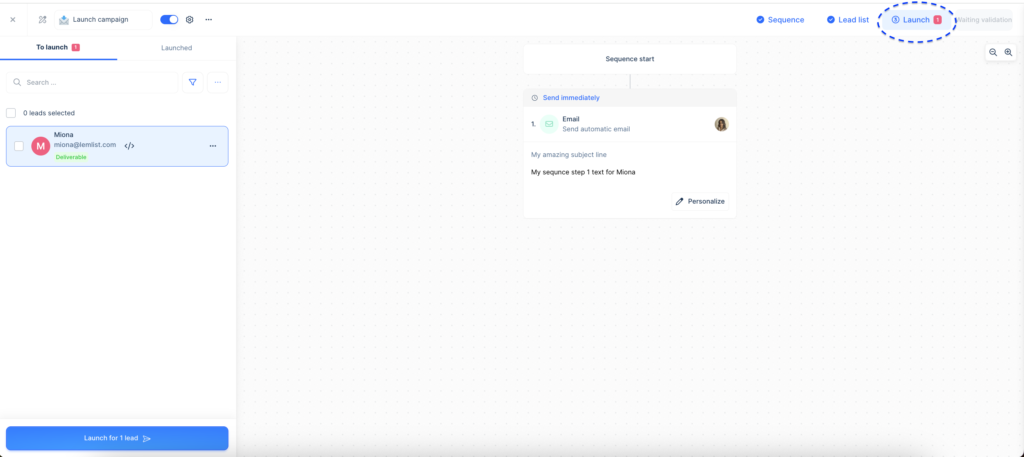

If you want to launch the campaign for a single lead, select that lead and click “Launch for 1 lead”.
Once you click “Launch,” the campaign will start sending based on your schedule.
Personalizing for specific leads
In the “Launch” section, you can personalize the sequence for any specific lead.

Editing after launch
If you need to make changes after launching, they will only apply to leads who haven’t reached that step yet. Leads who have already received that step won’t see the updated version.
Keep in mind that the launch stage is for minor adjustments. If you need to make bigger changes, go back to the “Sequence” step to edit the whole campaign.
For updates like contact info or custom fields, head to the “Lead list” section. This is where you can manage all your lead details.