Save a campaign schedule a template
Save a campaign schedule a template
From the templates section
1
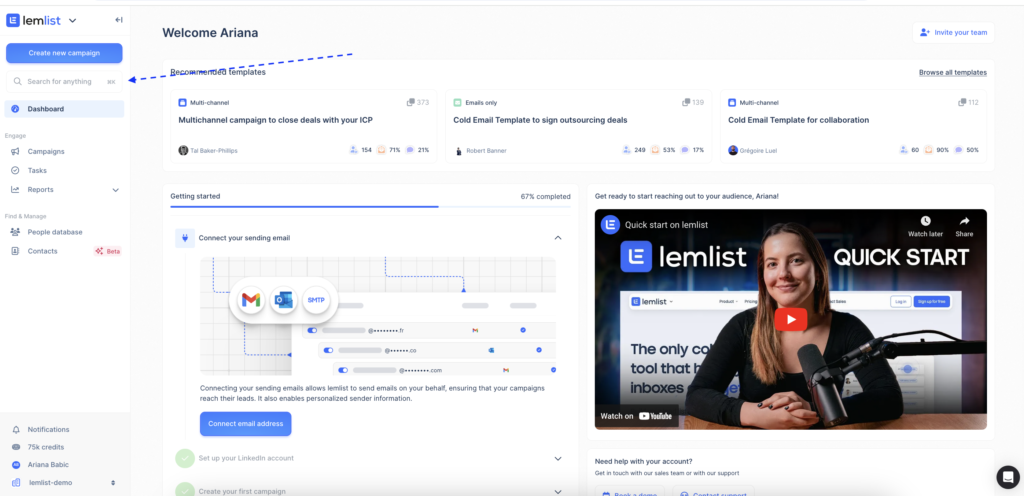
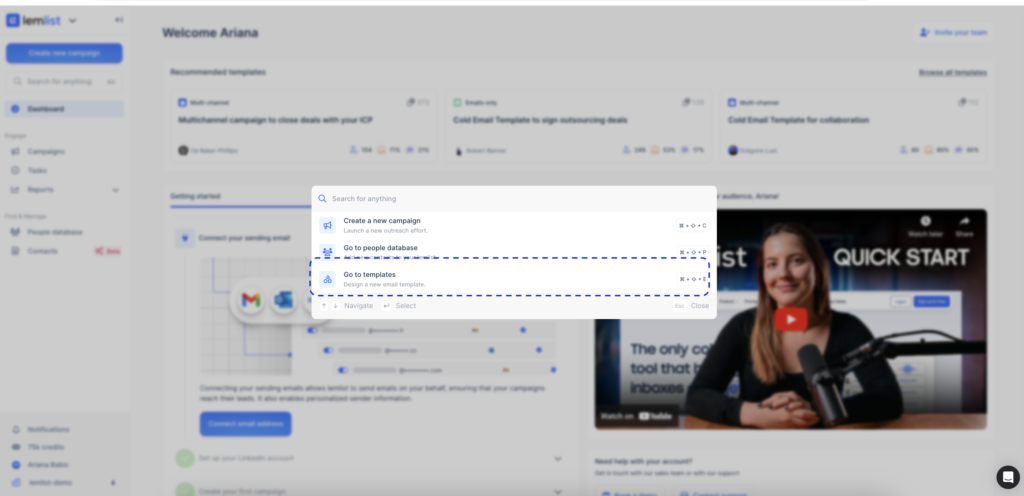
Use the Search bar to find and navigate to Templates.
2
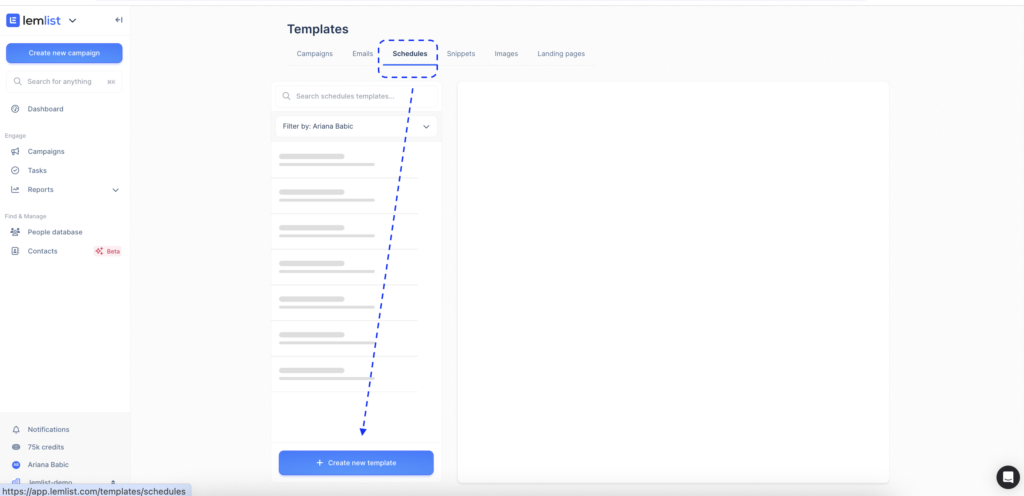
In the Templates section, go to the Schedule tab and click the blue button to start creating your template.
3
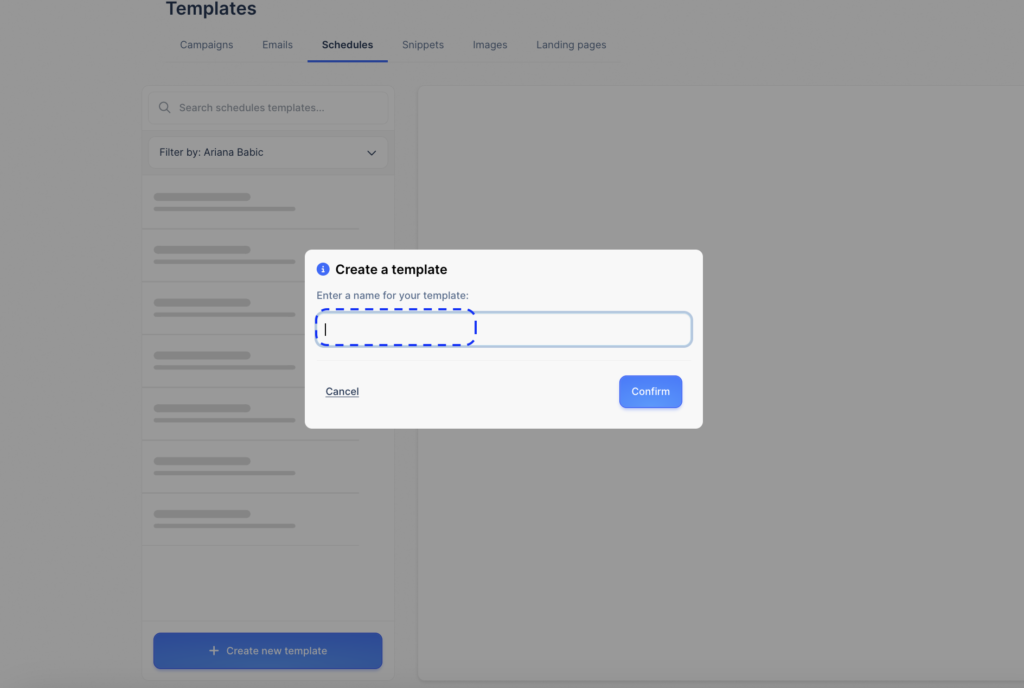
Name your template and save it by clicking Confirm.
4
Adjust the template by setting:
- Time zone
- Days you want to contact leads
- Hour frame when leads should be contacted
- Reach time for new leads (the interval between contacting new leads)
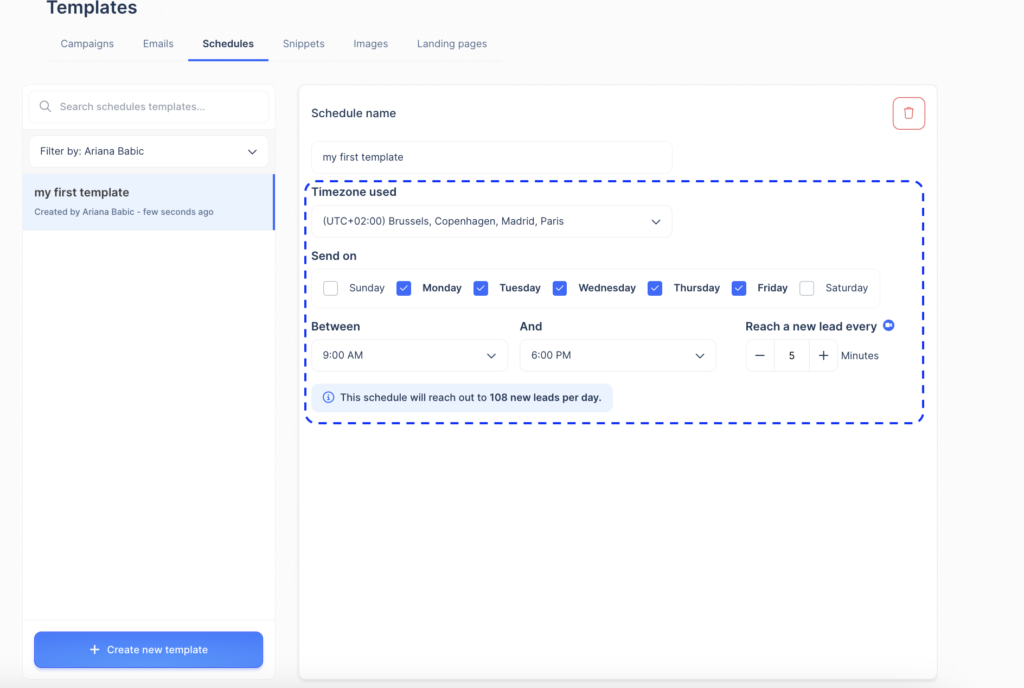
And that’s it! Your schedule template is ready.
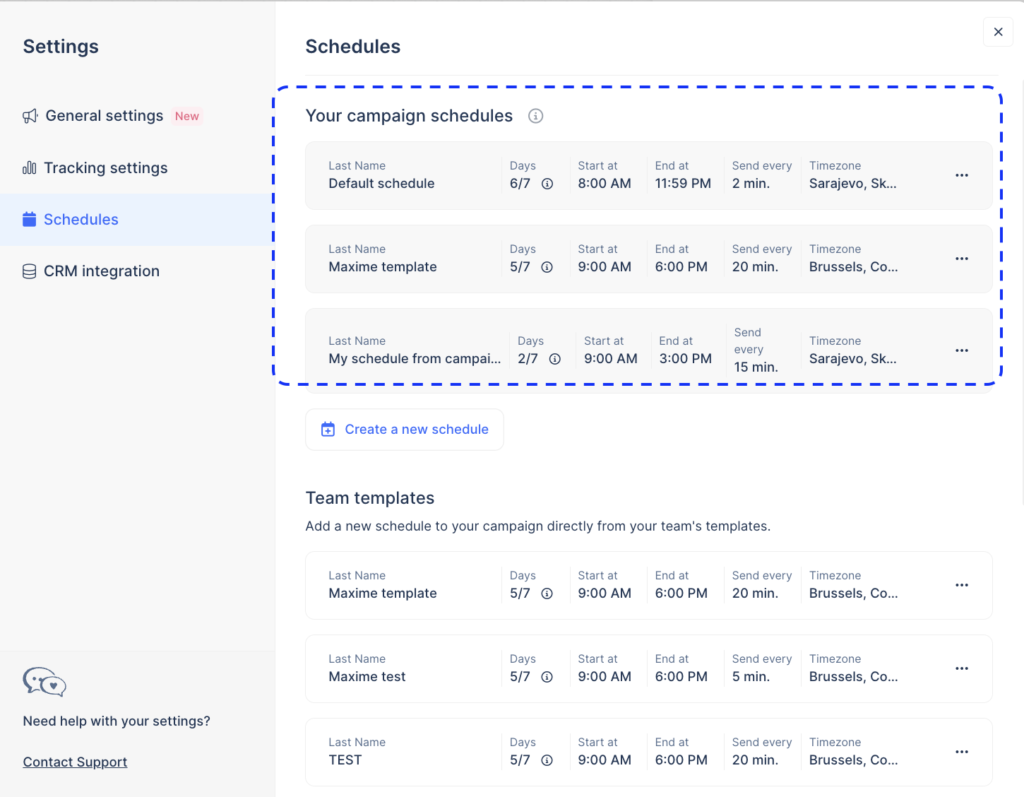
From your campaign
1
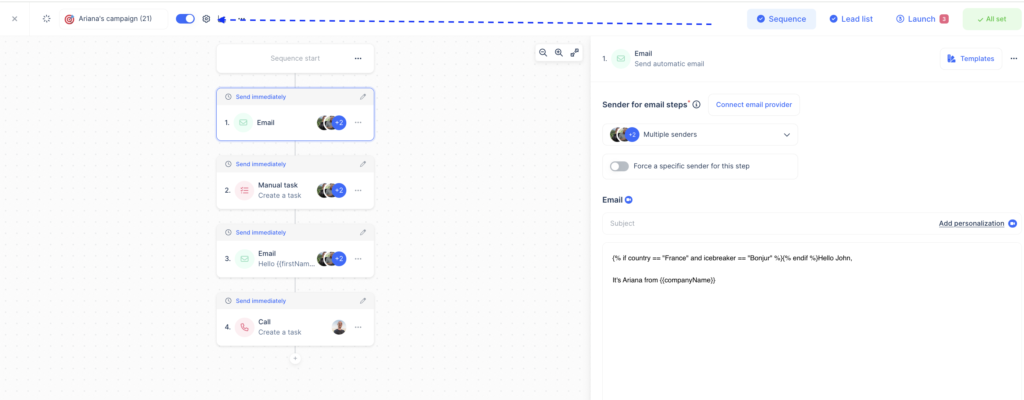
Go to your campaign and navigate to Settings.
2
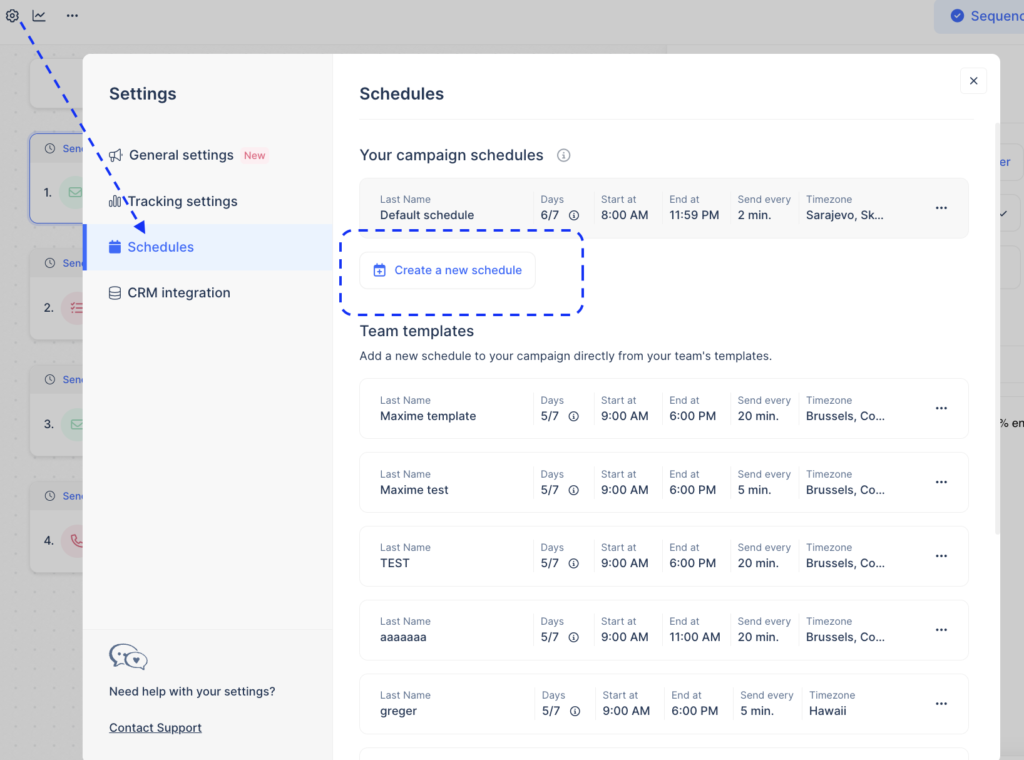
Select the Schedules section, then click Create a new schedule.
3
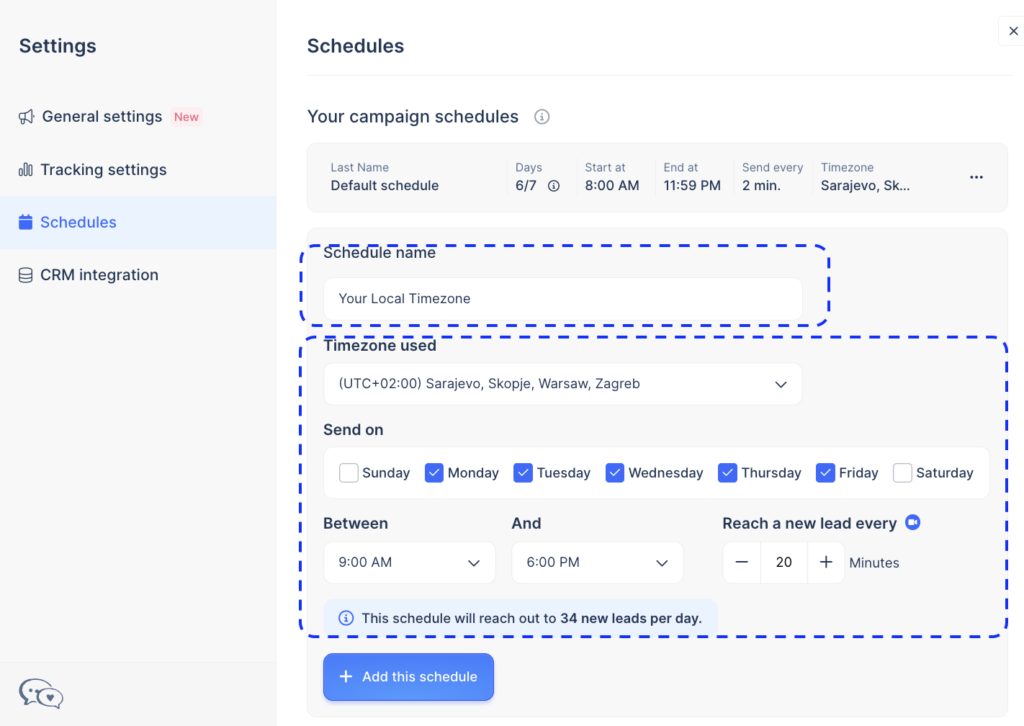
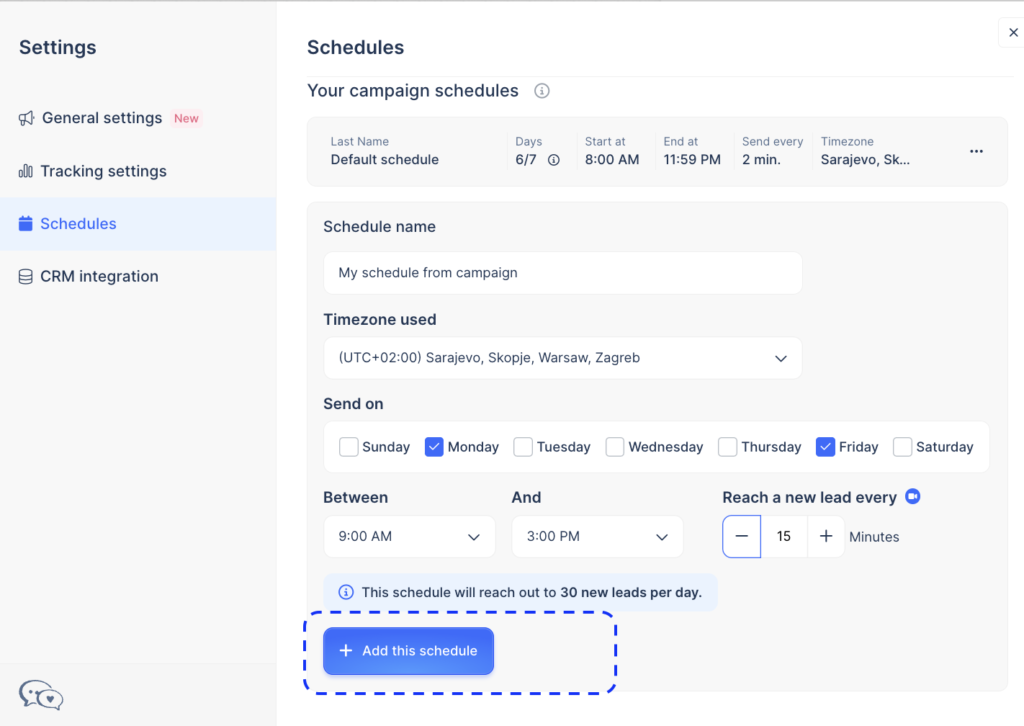
Name your schedule and adjust the settings.
4
Click on + Add this schedule to apply it to your campaign.
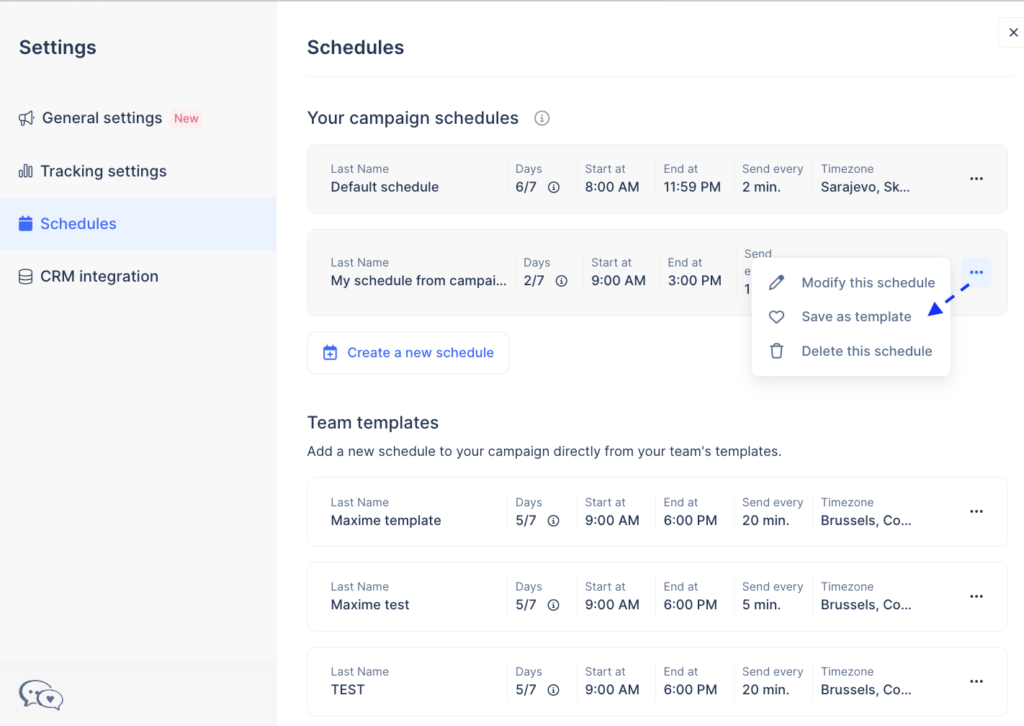
5
To save it as a template for future use, click on the three dots next to the schedule and select Save as template.
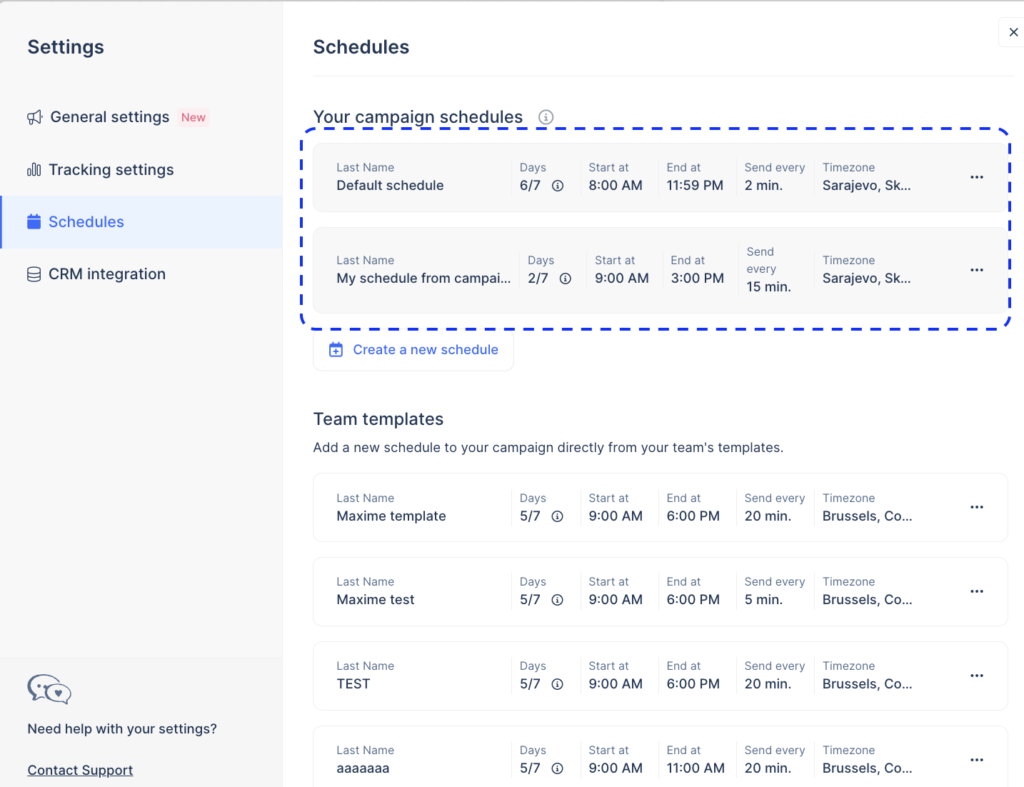
You can now adjust the campaign schedule to have one or more schedules and continue building your campaign.
Using a pre-existing schedule template
If you’ve already created a schedule template in Templates, follow these steps:
1
Go to Settings → Schedules → Team templates.

2
Choose the template you want by clicking the three dots next to it.
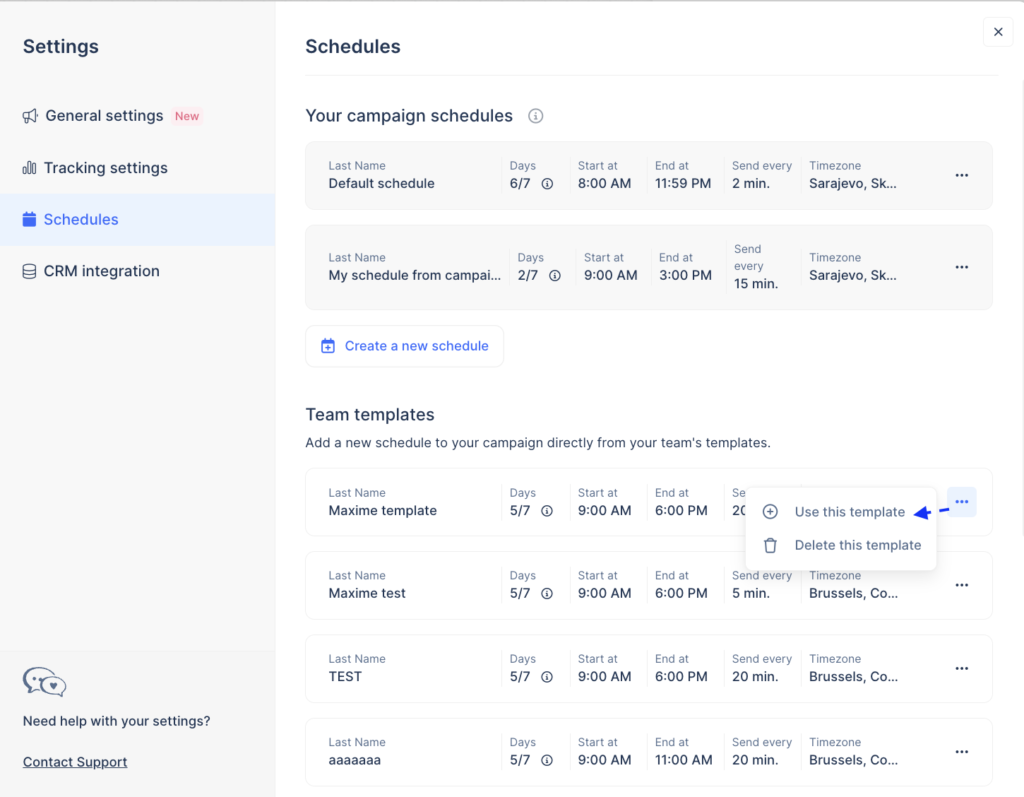
3
Choose the template you want by clicking the three dots next to it.
How useful was this lesson?
Copied